Before you install
If you have inputted data using a previous version of the RHS Toolbox and want to keep them, do not install the software yet, and first follow these steps:
Office version
Before you install the River Habitat Survey (RHS) Toolbox, you need to figure out first whether you have Microsoft office installed on your computer and whether it is the 32-bit or 64-bit version. If Microsoft office is not installed on your computer, we recommend that you install the 64-bit version of the RHS toolbox.
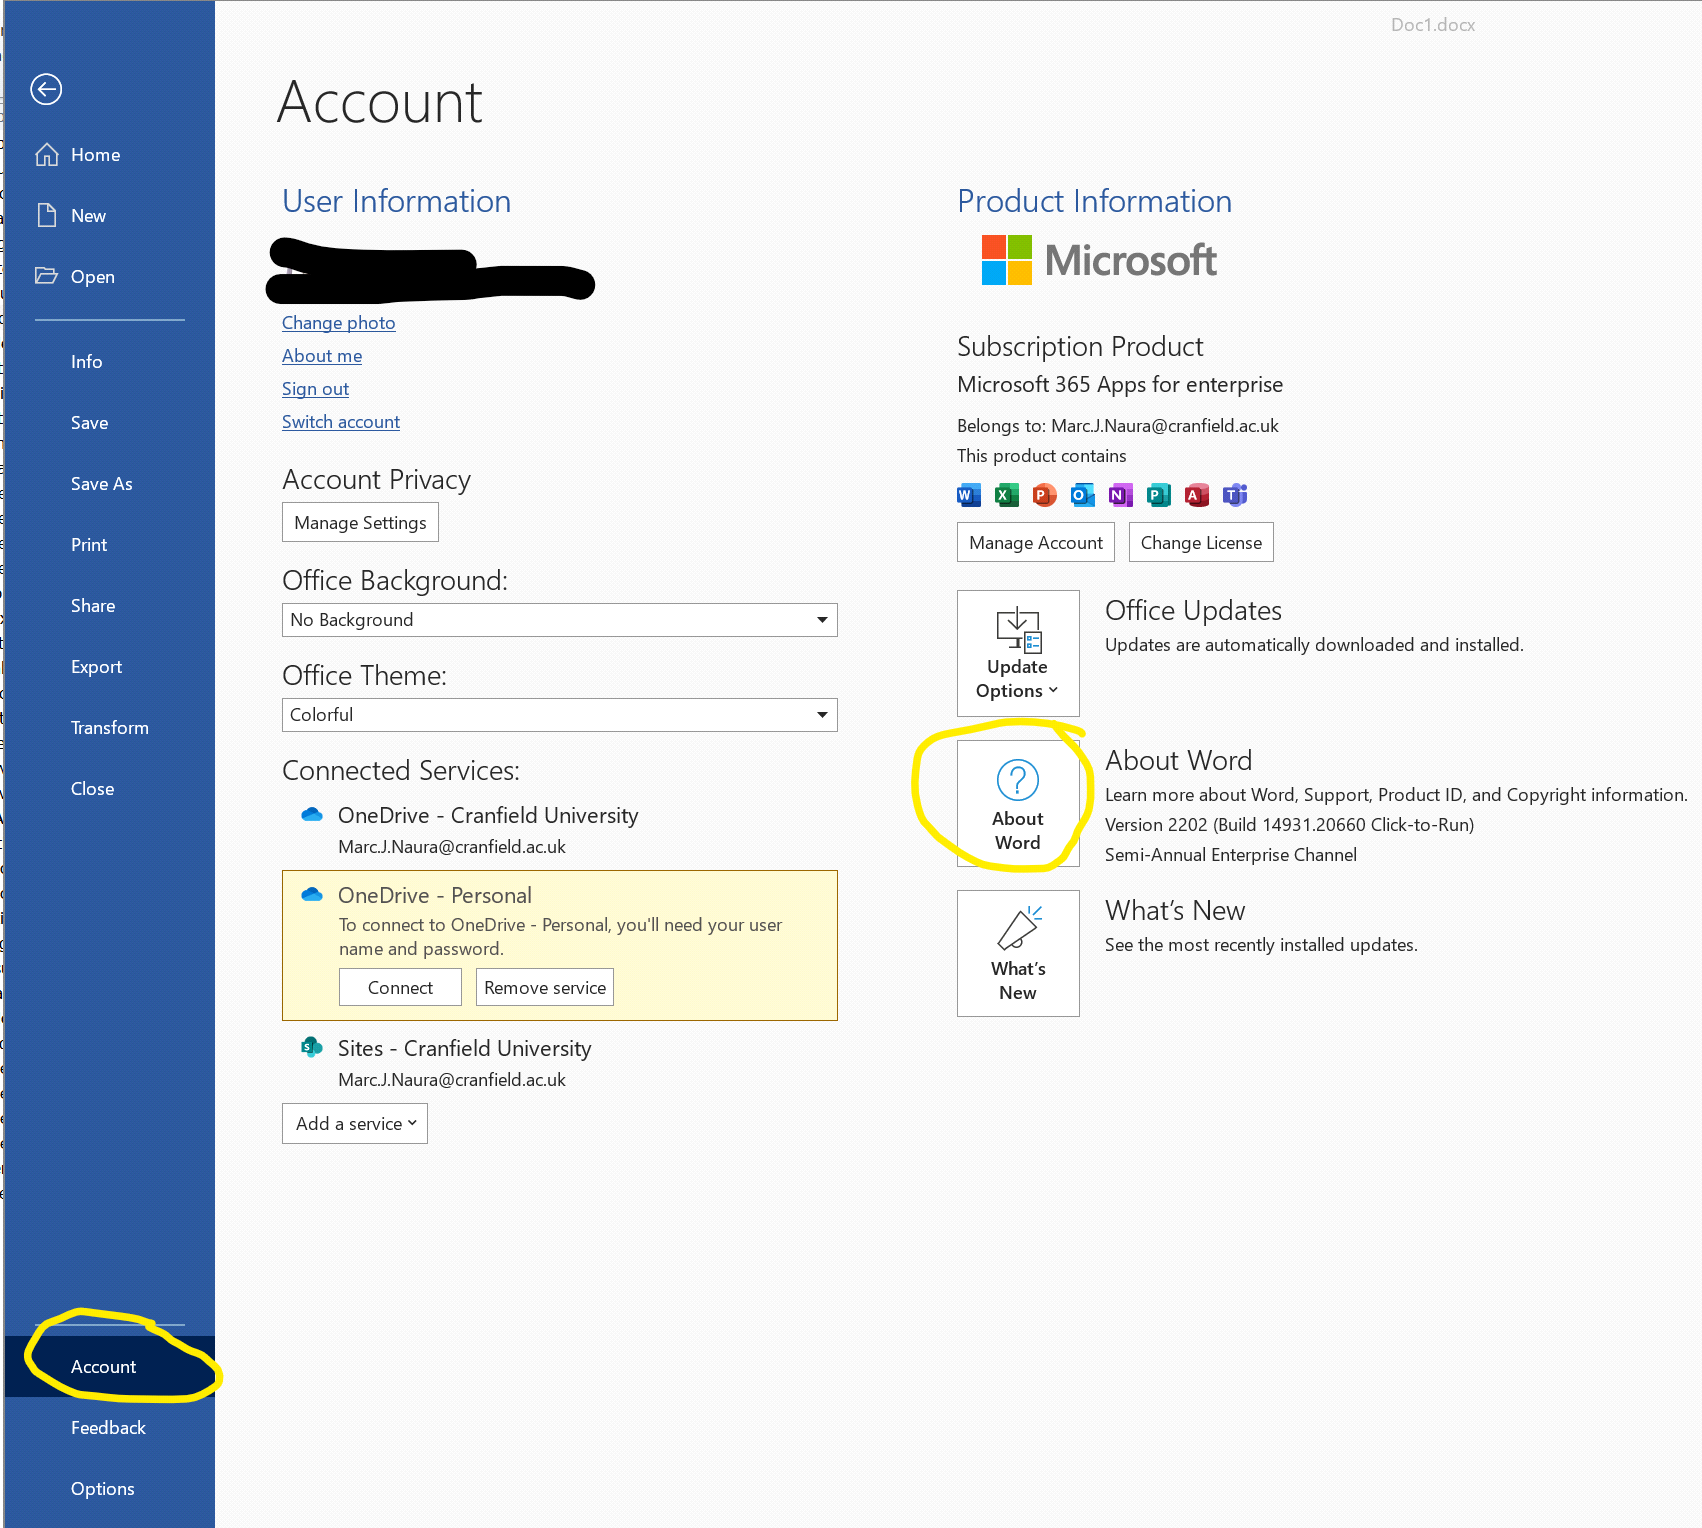
To check the version number, simply open a Word document, then click on ‘File’, then click on ‘Account’ to reveal the page with the user information. On that page, click on the ‘About Word’ button (see below).
The following window will appear, with, at the end of the first line the version of office, either 32-bit or 64-bit.
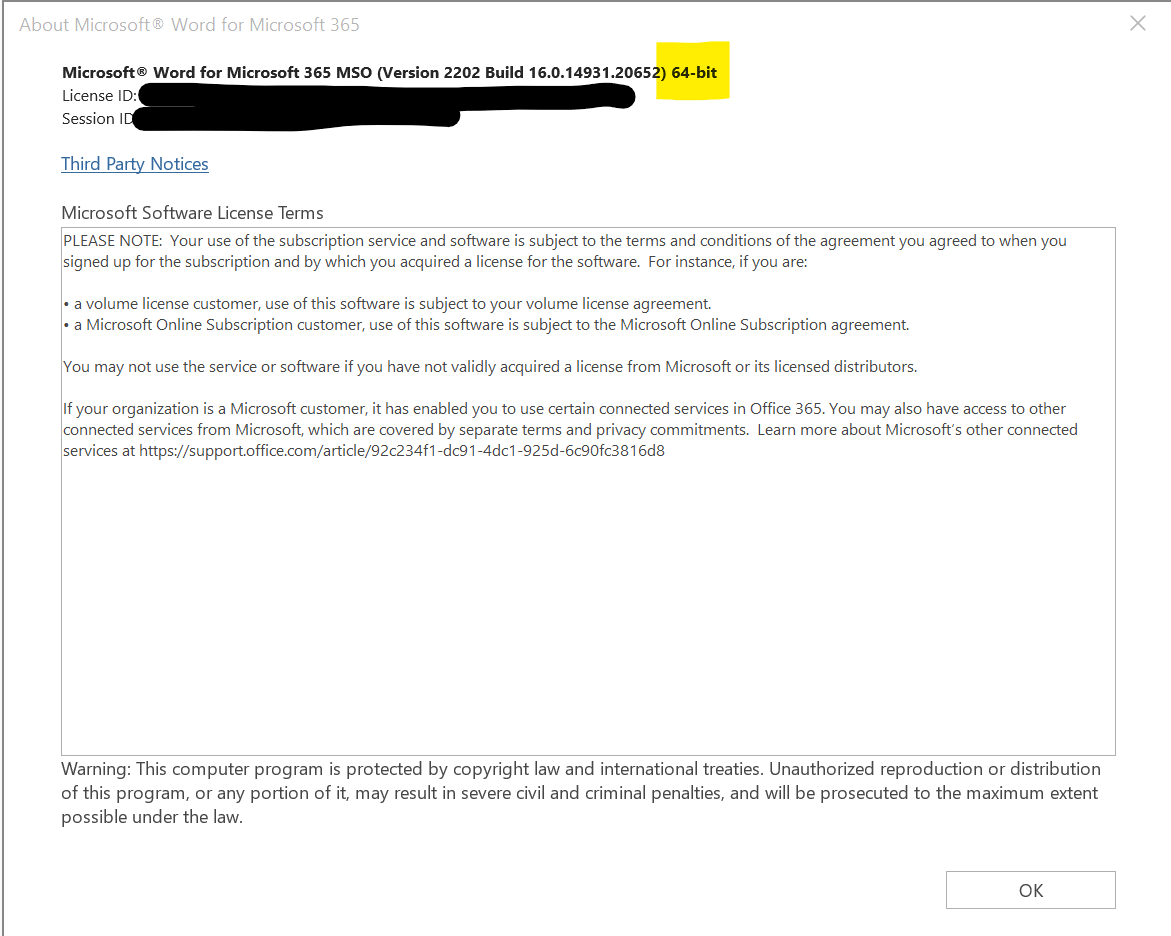
Use this information to select the corresponding setup file for the RHS toolbox.
RHS toolbox installation
Double click on the RHS toolbox installation file to start the installation process. You may get a warning that the file is a potential malware or contains a virus. This is because the certificate for the software may not be fully recognised, which means that virus software and windows defender will see it as a potential threat.
At the start of the installation process, the software will first check whether you have all the components and software required to run the application. If not, you will be prompted to install the missing components.
If you do not have Microsoft Access installed, the following screen will appear:
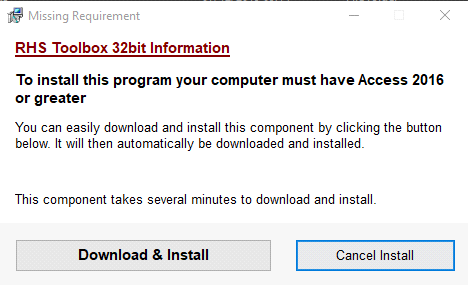
Click on ‘Download & Install’ and the software will start downloading Access runtime (free version)
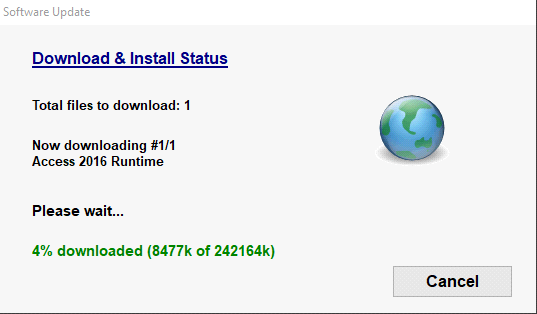
Once it is downloaded, the installation process will start
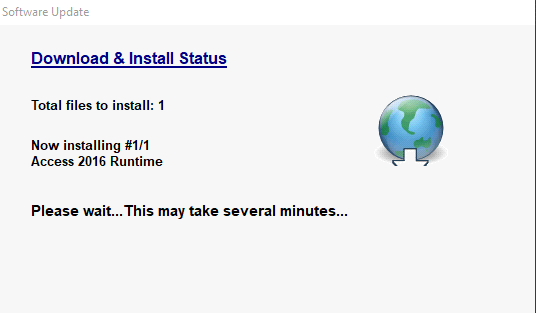
When finished, click ‘Ok’ to continue with the installation of the RHS Toolbox.

There are two additional components required to run the RHS toolbox: Microsoft Visual C++ 2017 Runtime, and MySQL Connector/ODBC 8.0.
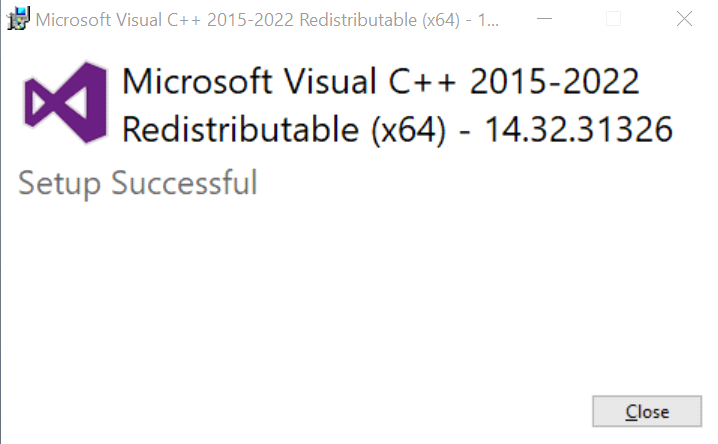
If Microsoft Visual C++ 2017 Runtime is missing, the following screen will display:
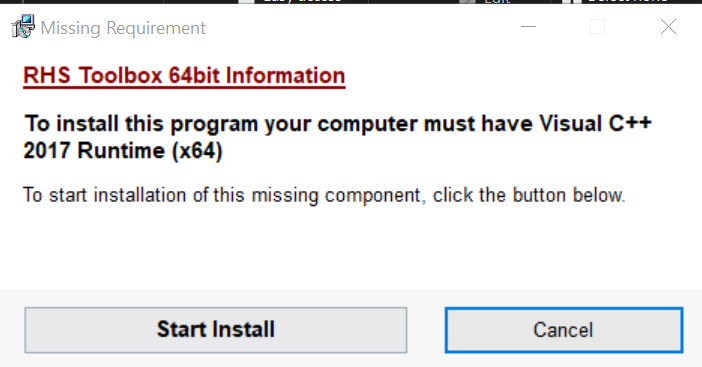
Click on ‘Start Install’.
You need to agree to the terms of licence agreement and press ‘Install’.
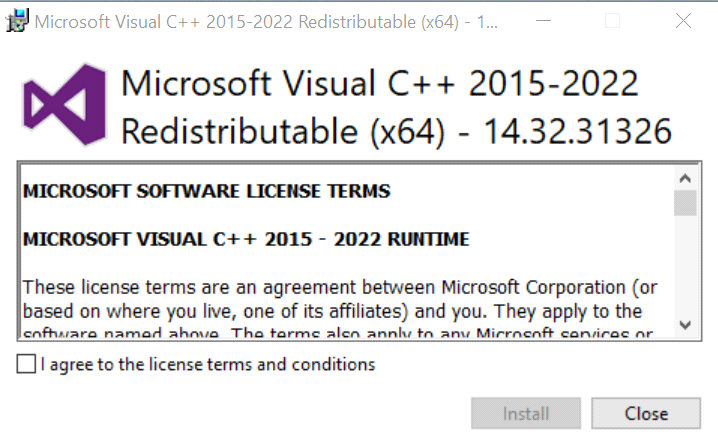
Once it has finished installing the missing components, click ‘Close’.
If MySQL Connector/ODBC 8.0 is missing, the following screen will display:
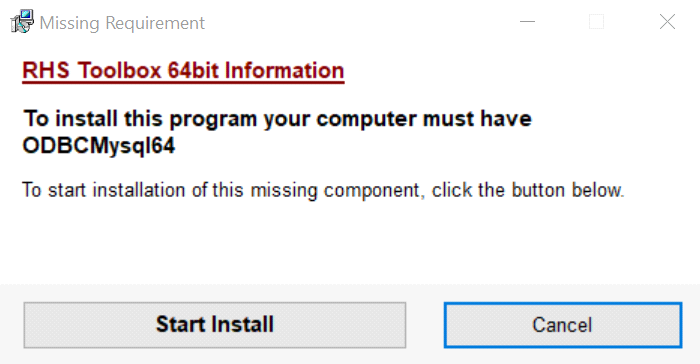
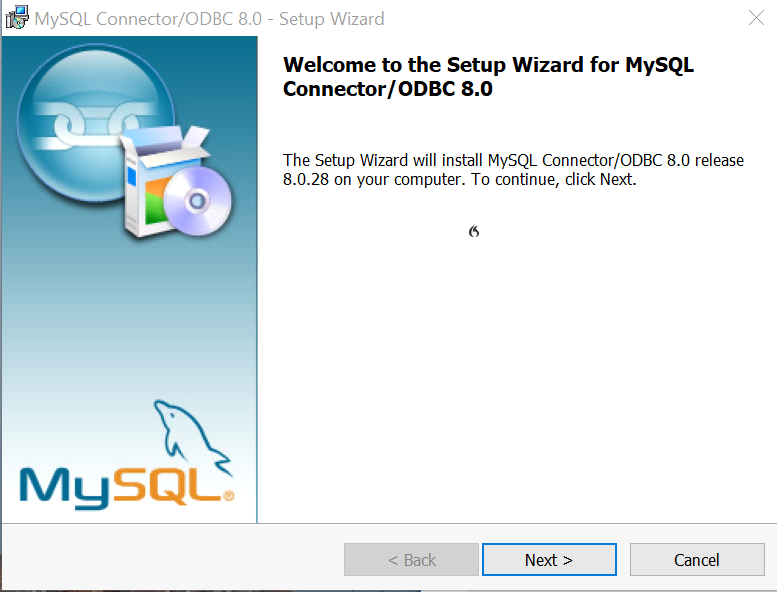
Click on ‘Start Install’ and click ‘Next’ on the following screen (see below).
Please ignore any messages to restart your computer at the end of the installation process of this component.
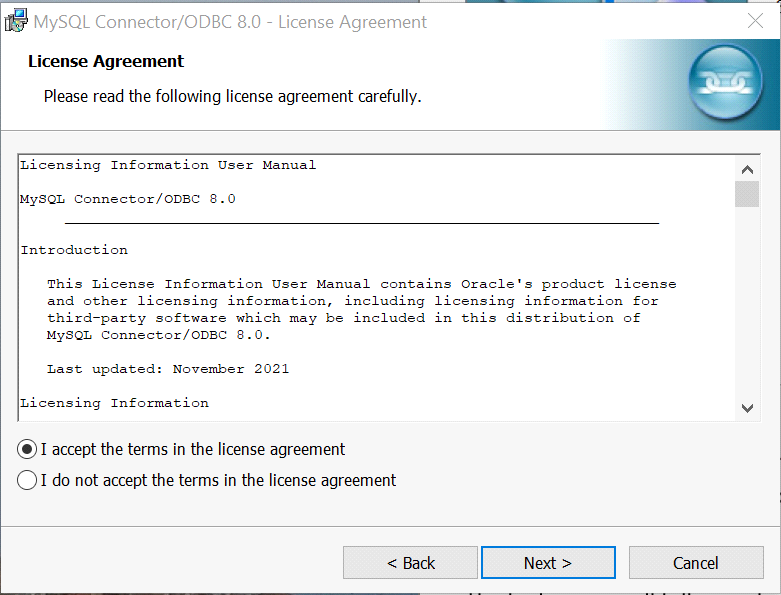
You need to agree to the terms of licence agreement and press ‘Next’.
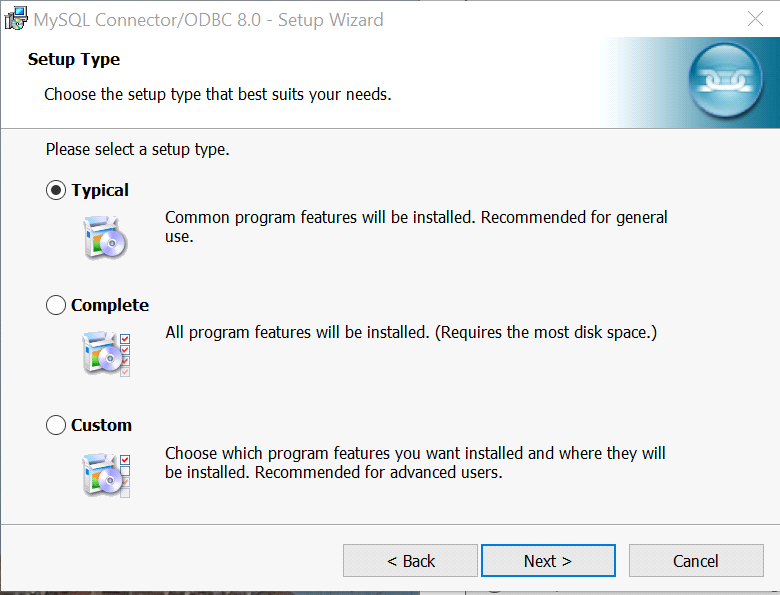
On the next screen, select the ‘Typical’ option and press ‘Next’.
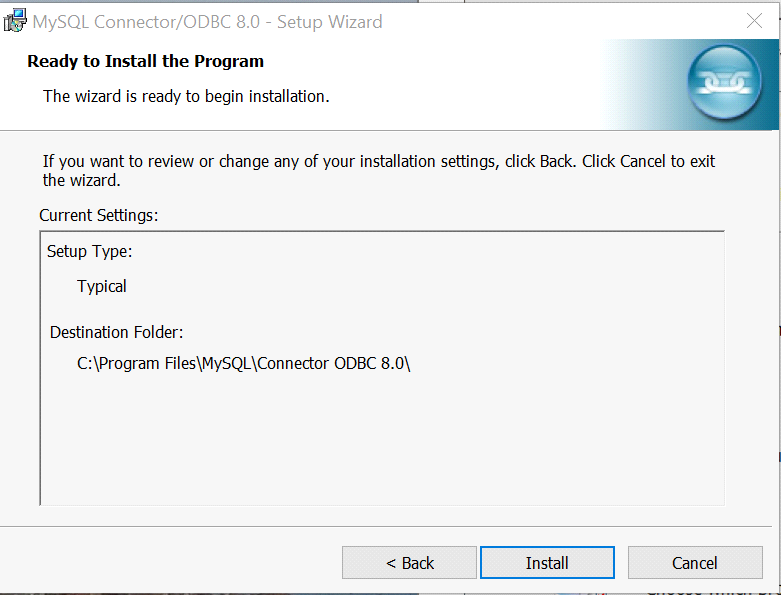
Click install on the next screen.
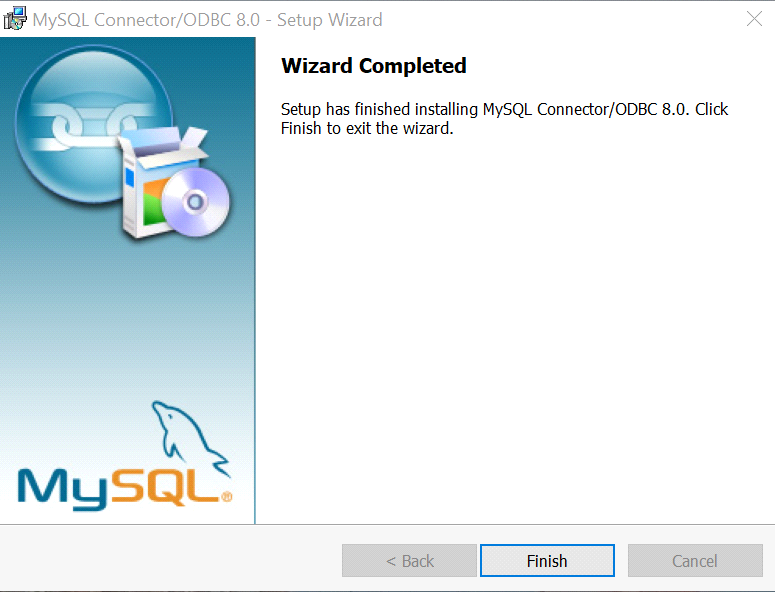
Once the installation of the component is finished, click on the ‘Finish’ button.
Please ignore any messages to restart your computer at the end of the installation process of this component.
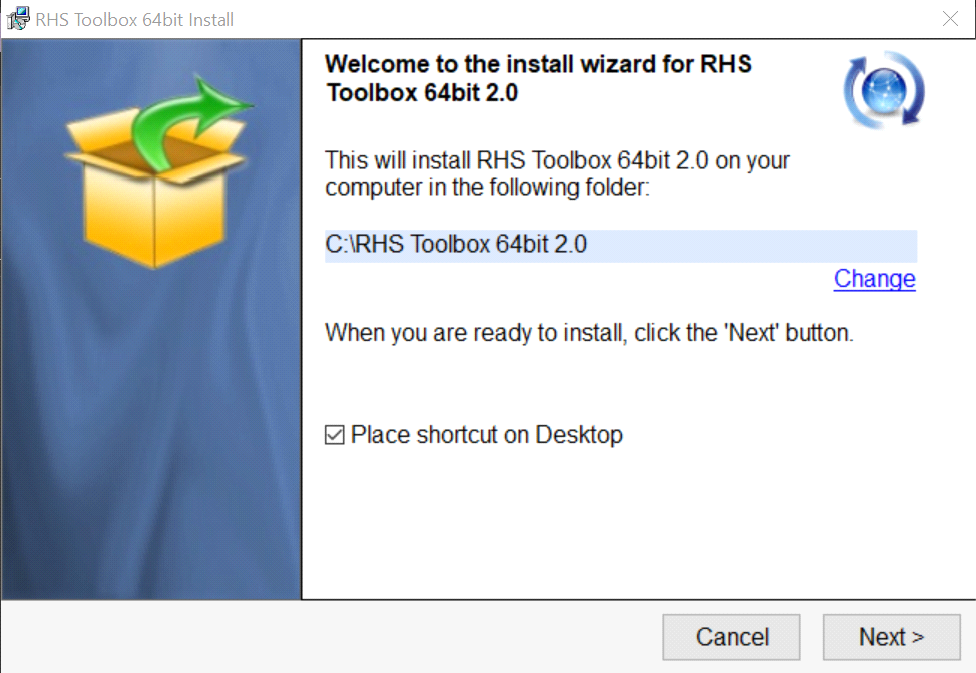
The next screen will tell you where the RHS toolbox application would be installed by default, i.e. the C drive of your computer. You can change the location of the software by clicking on the ‘Change’ hyperlink and select a different drive or folder. Please remember to provide the name for a folder in which the files will be installed. In the example below, we decided to install the application on the D drive rather than the C drive.
Do not install the application on a removable drive (e.g. USB key) or a network drive as your licence is specific to your PC and drives and the software is likely to malfunction resulting in data losses!
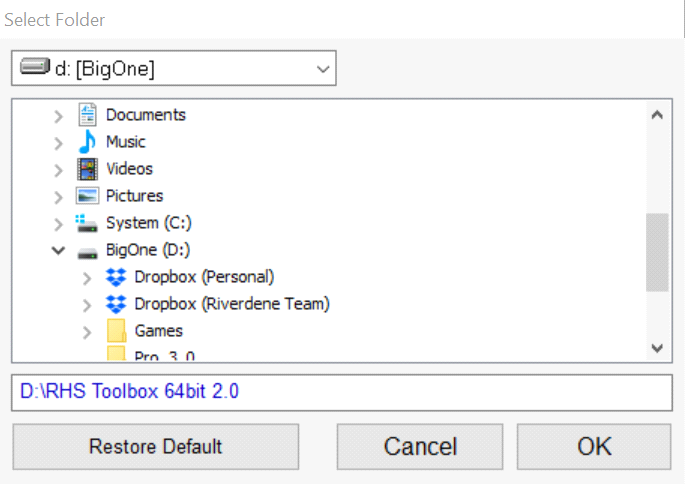
Click ‘OK’ and if you have changed the drive, it will ask you whether you would like the folder to be created. Click ‘Yes’.
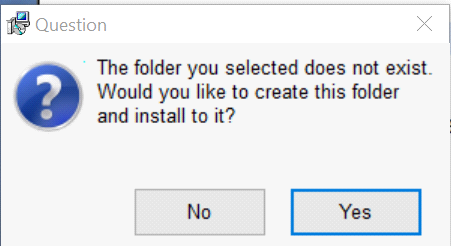
Once done, click on the ‘Next’ button.
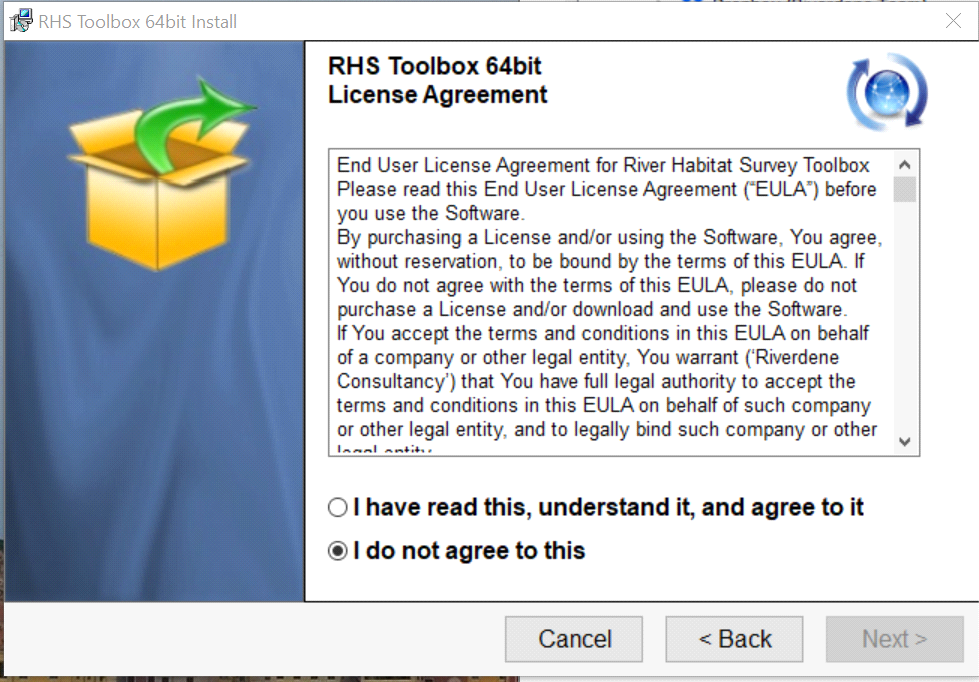
You then need to read the terms and licence agreement and accept them before proceeding with the installation.
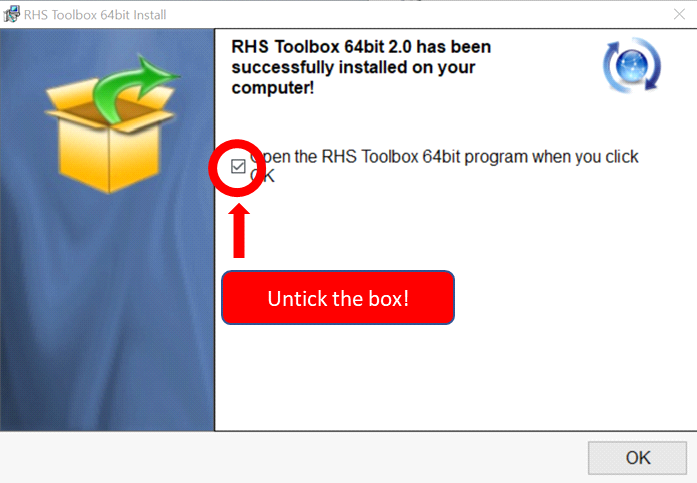
The installation of the RHS toolbox is now finished and you can open the application.
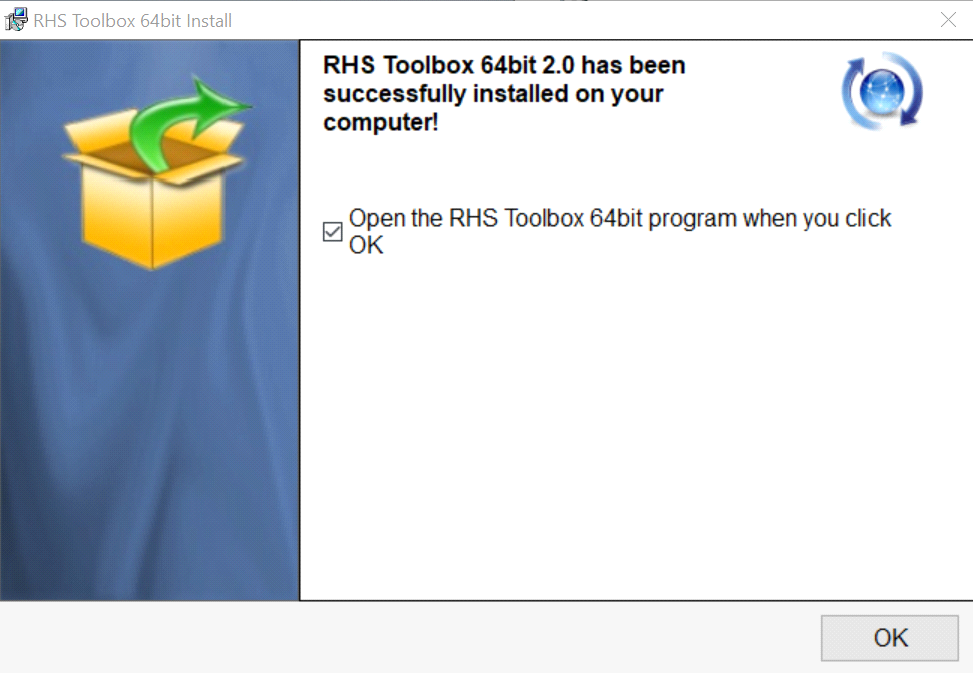
To open the database, you can either click on the icon on the desktop ![]() , or find the application on the start menu. Alternatively, you can locate the RHS folder and double-click the RHSStartup.accdr file.
, or find the application on the start menu. Alternatively, you can locate the RHS folder and double-click the RHSStartup.accdr file.